Wax seals are a surefire, time-honored way to add elegance and distinction to correspondence of any kind, and mankind has used them to seal envelopes and certify documents for many thousands of years. Yet, the use of sealing wax and a stamp goes far beyond the necessity of closing an envelope. As royalty and nobility once knew and practiced, a personalized seal adds a high level of security to documents and correspondence, as the presence of a seal verifies the identity of the sender as the one who officiated the document and/or sent the letter. These seals combine history, art, charm, and a chance to play with fire all in one fancy little dollop of wax.
Beyond stationery, wax seals are also excellent additions to vintage arts and crafts projects or home and office décor pieces. They can be used to create embossed, personal adornments on the pages of a scrapbook, or they can be used to seal one’s home-distilled bottle of whiskey. With a creative mindset and perhaps some of that whiskey, you’ll soon discover a world full of infinite possibilities for your wax seal (you might also find all the paper and flat surfaces in your home are eventually covered in swanky little wax ornaments, which we are not liable for in any way).
Now, levity aside, I wouldn’t personally consider it appropriate to adorn every single envelope I send in the mail with my seal. Imagine the look on the face of the mail clerk in the ‘auto loans’ department upon receiving such a thing. As is the case with most things, common sense rules apply. Or not – that's your call. Moving on.
There are only a few things to keep in mind when entering the world of sealing wax and brass stamps, and we plan to provide you with a rudimentary understanding of these things in this article.
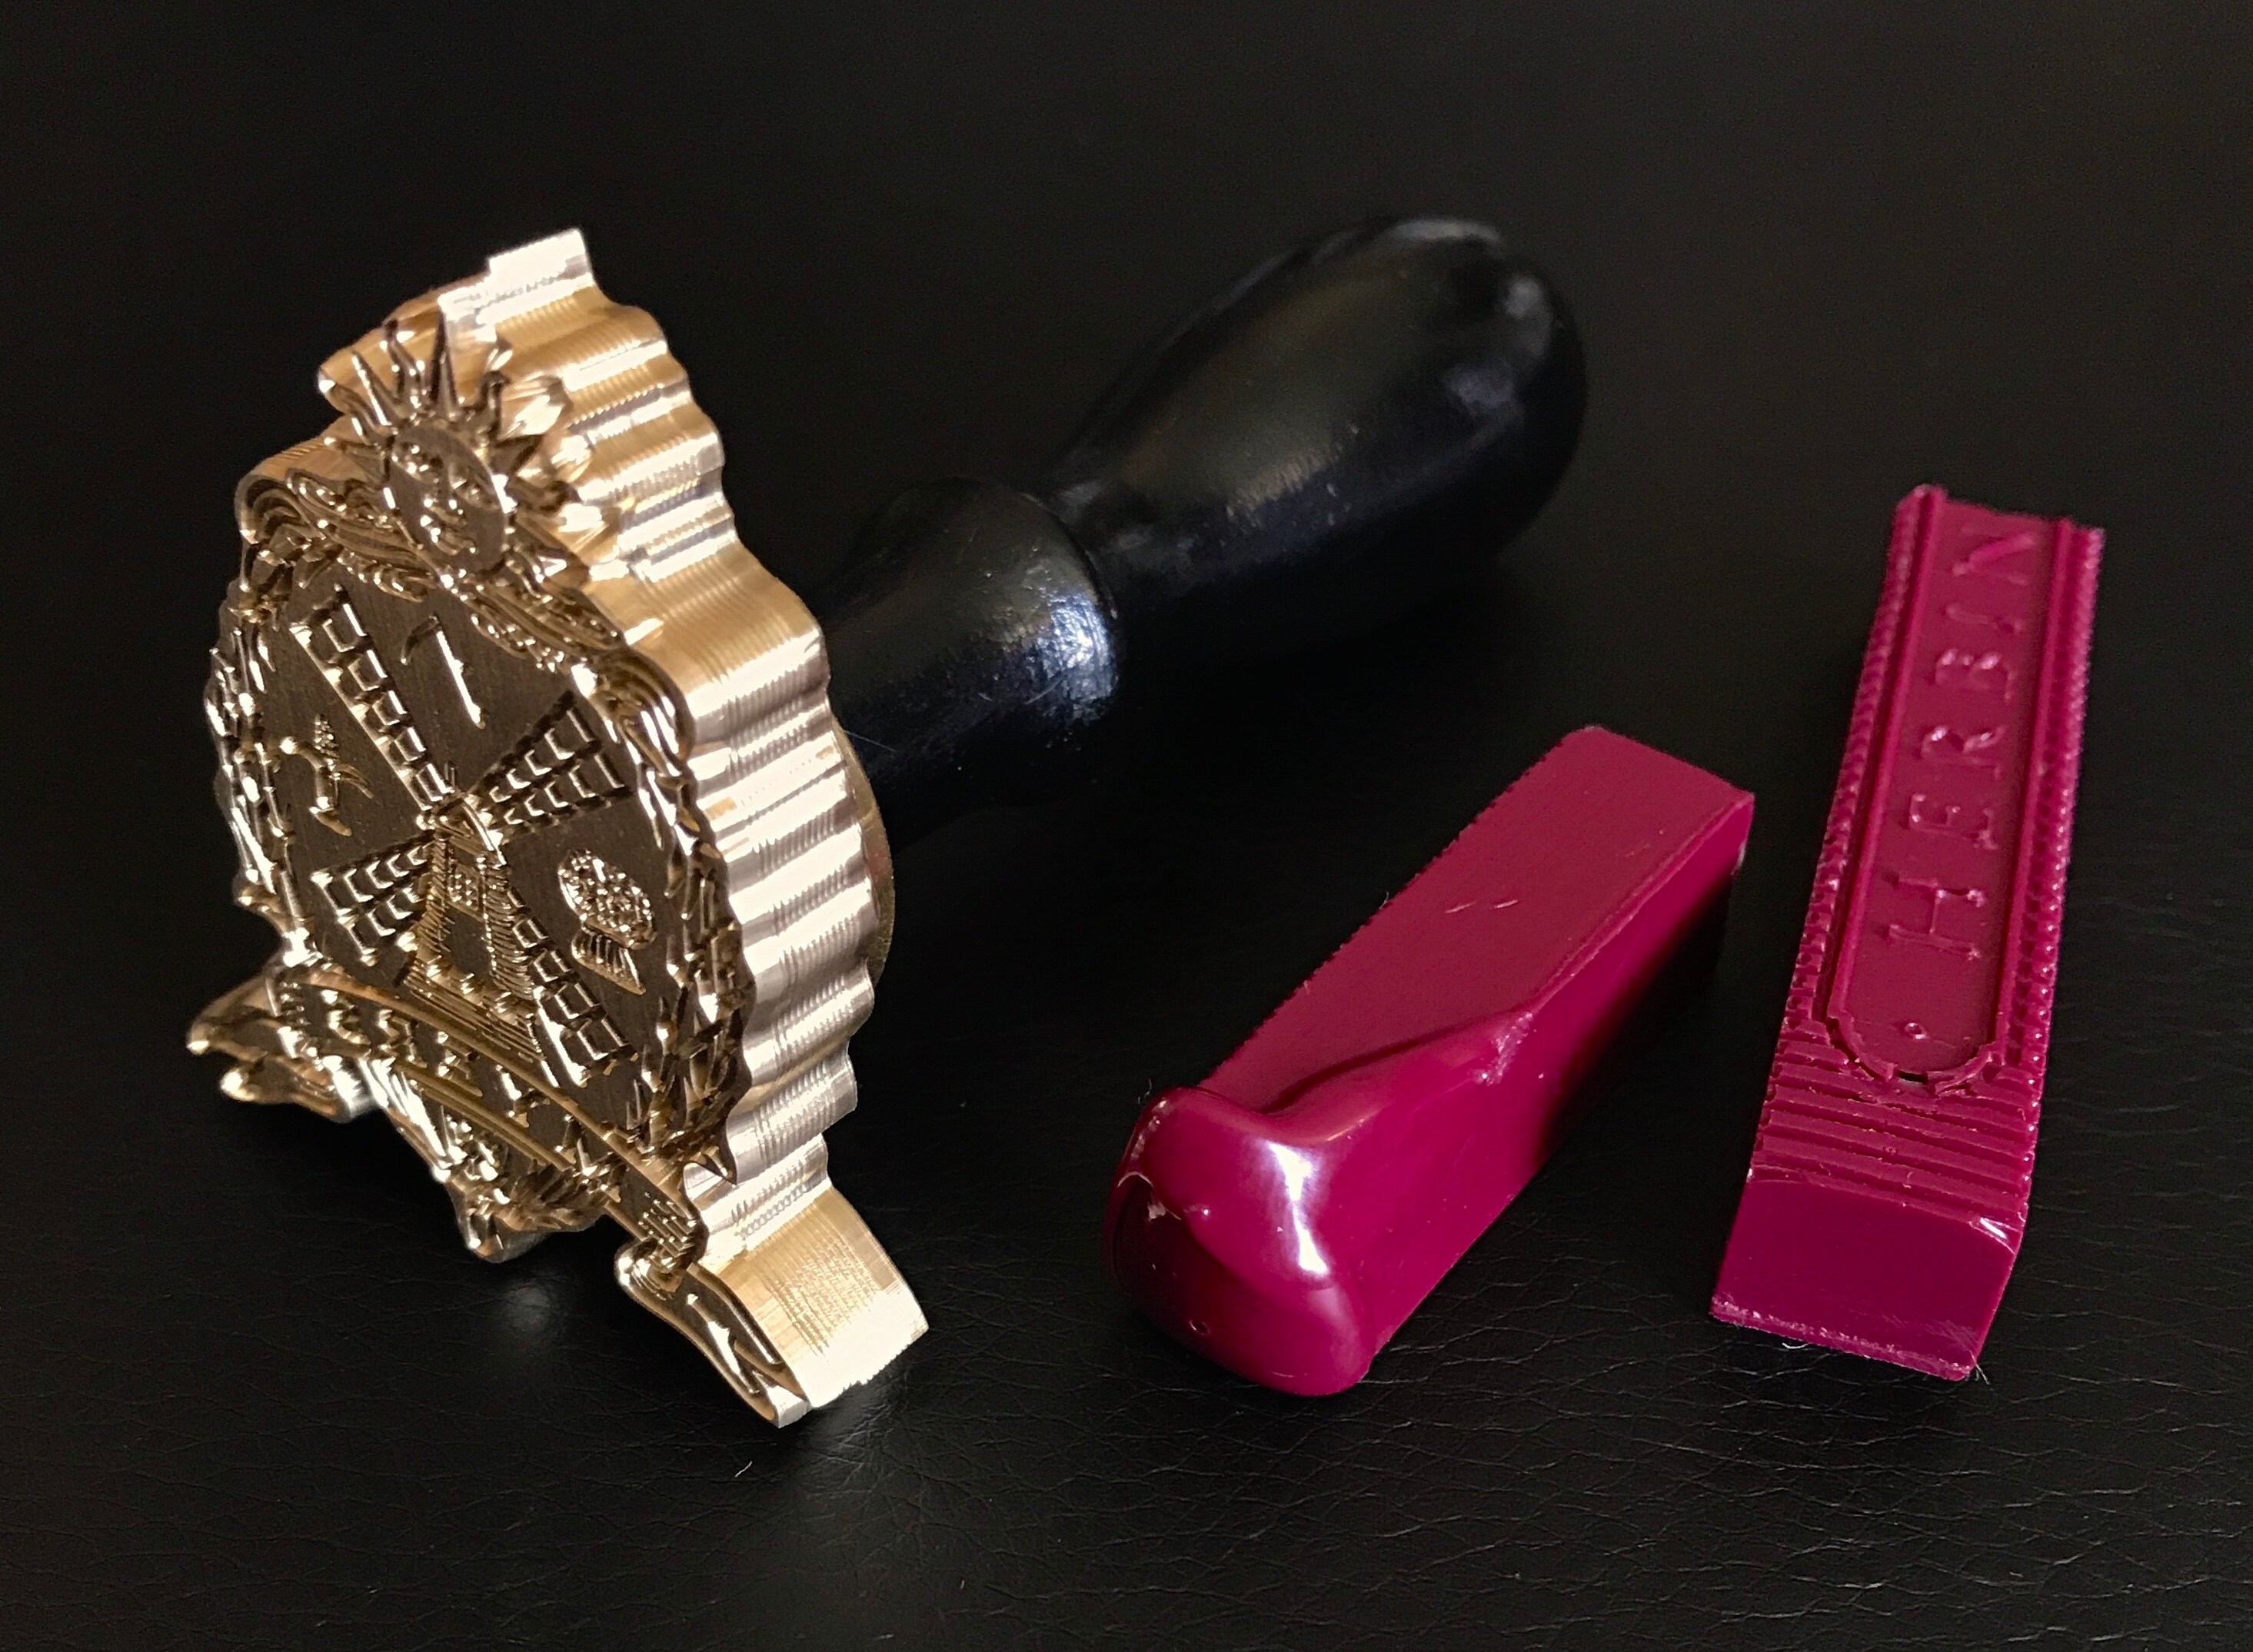
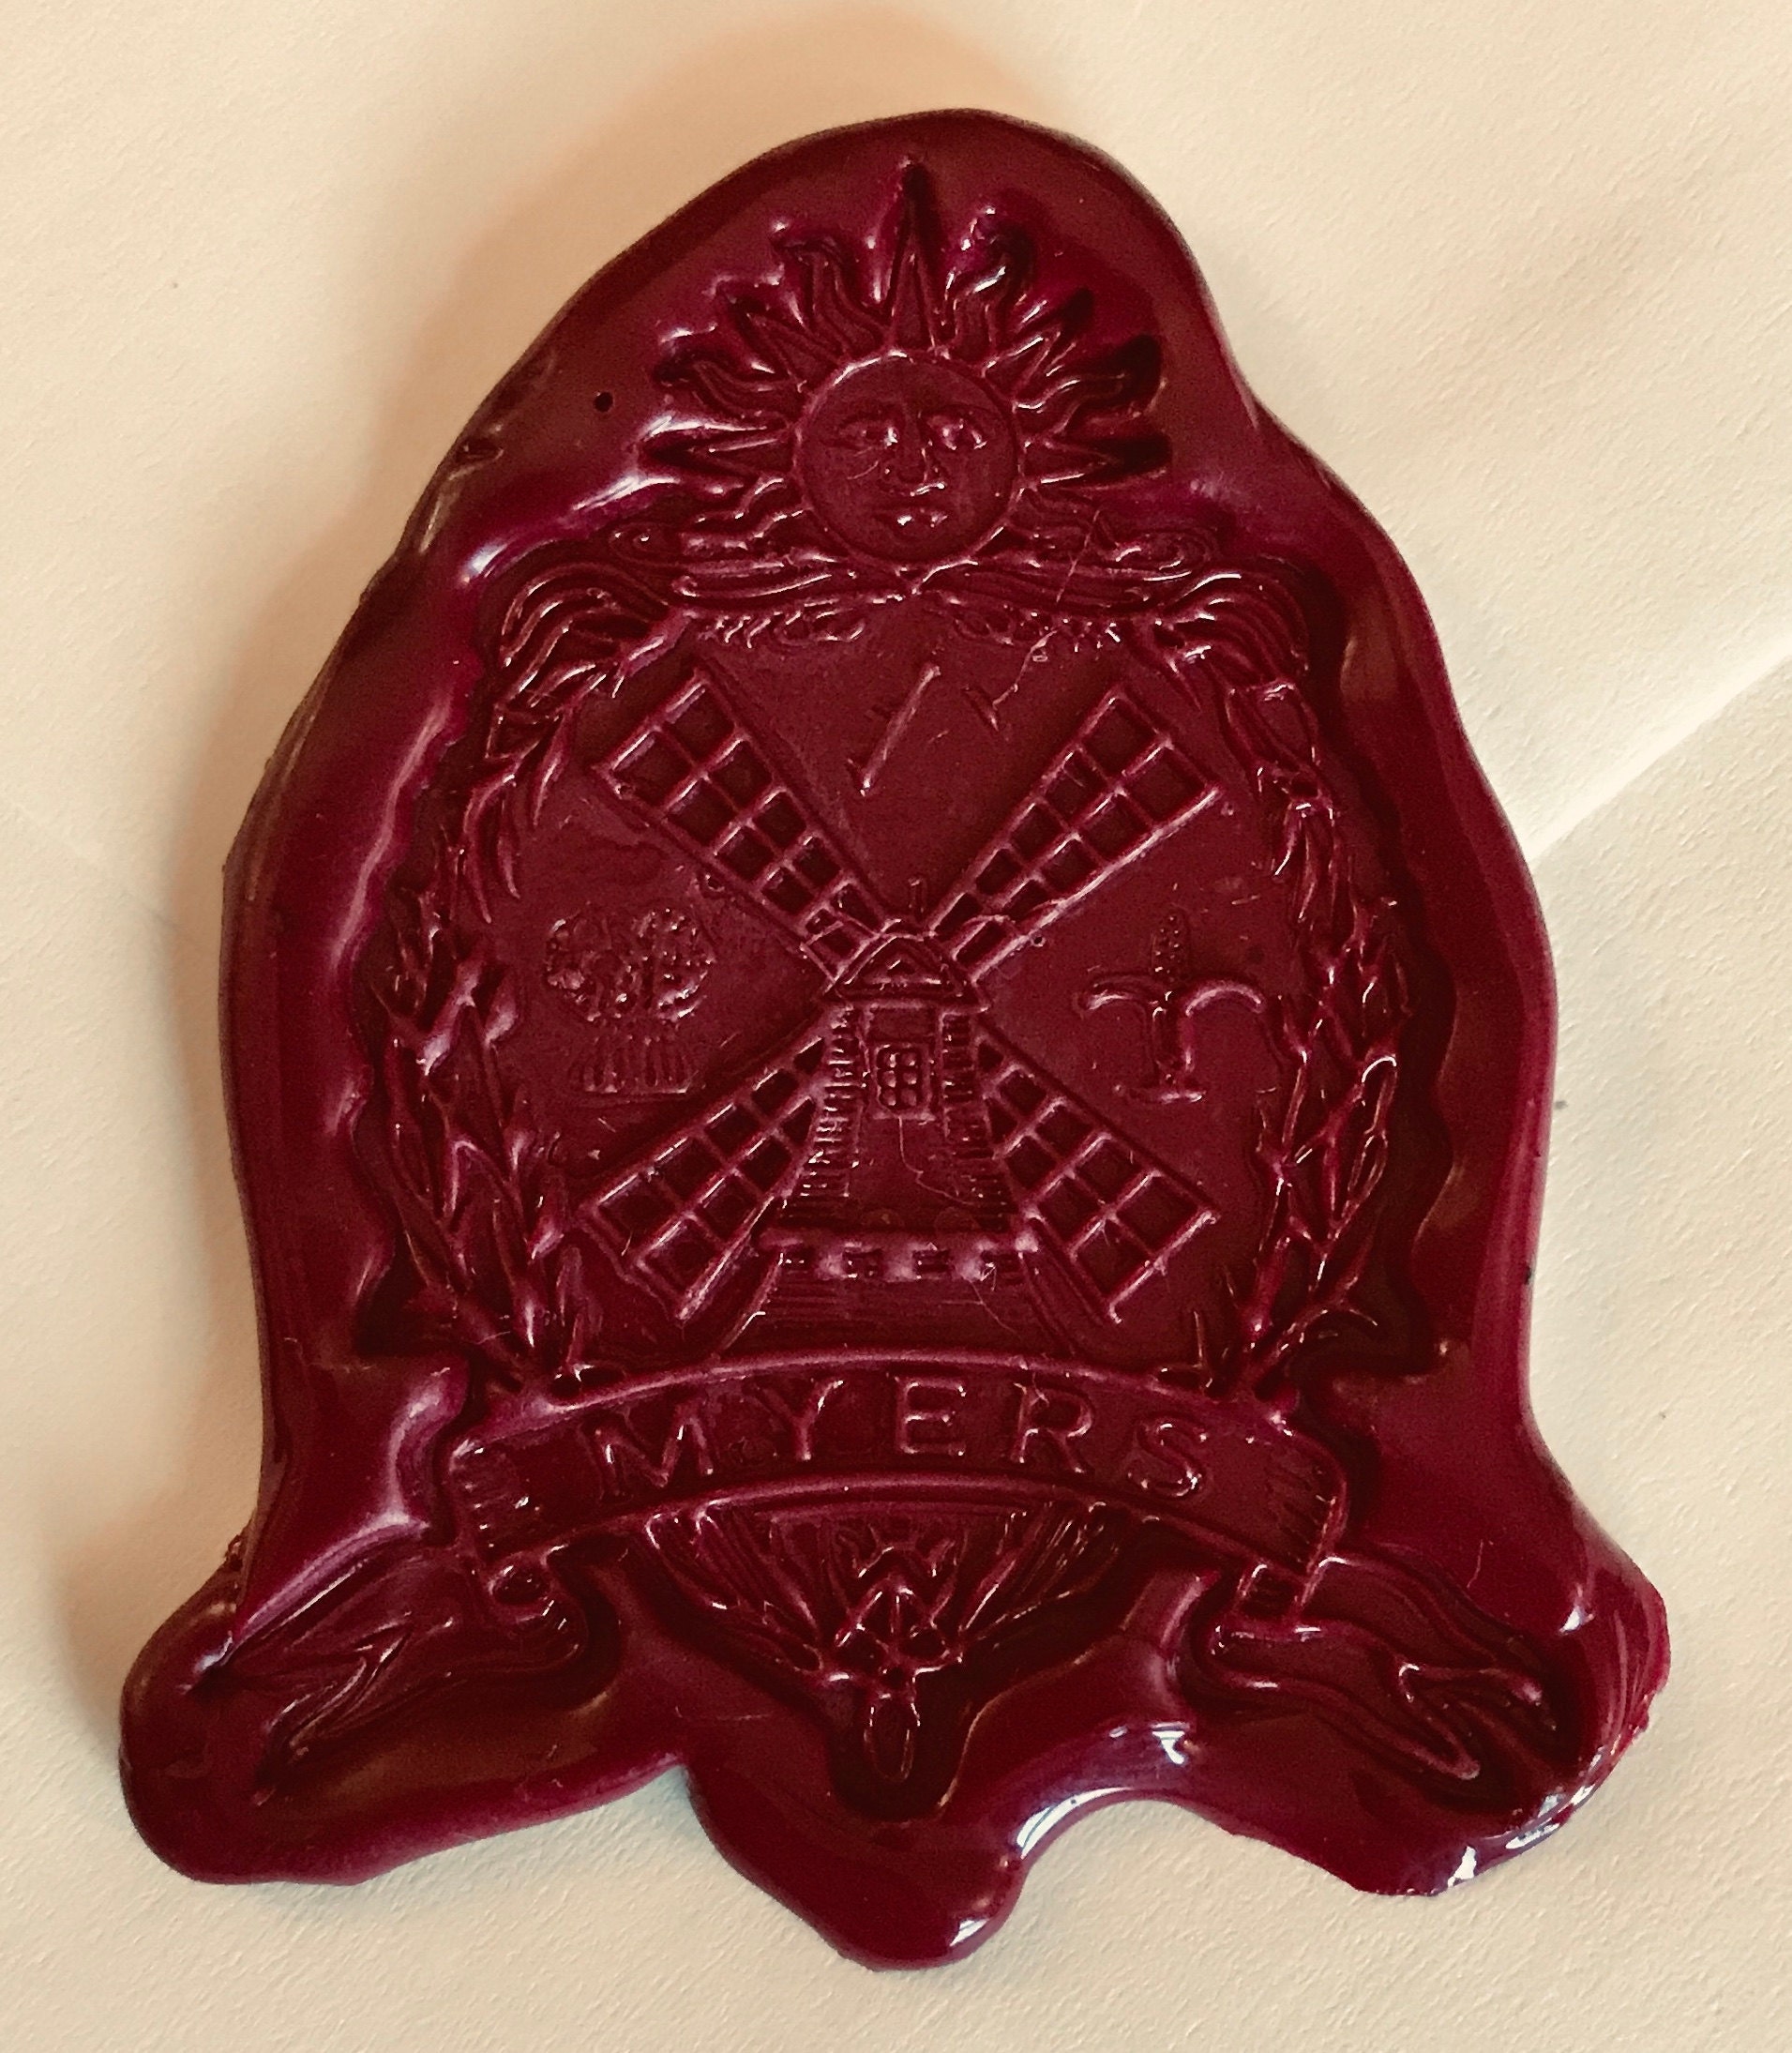
In this demonstration, we used wickless J. Herbin Supple Sealing Wax in crimson.
How to use Sealing Wax:
Step 1 –
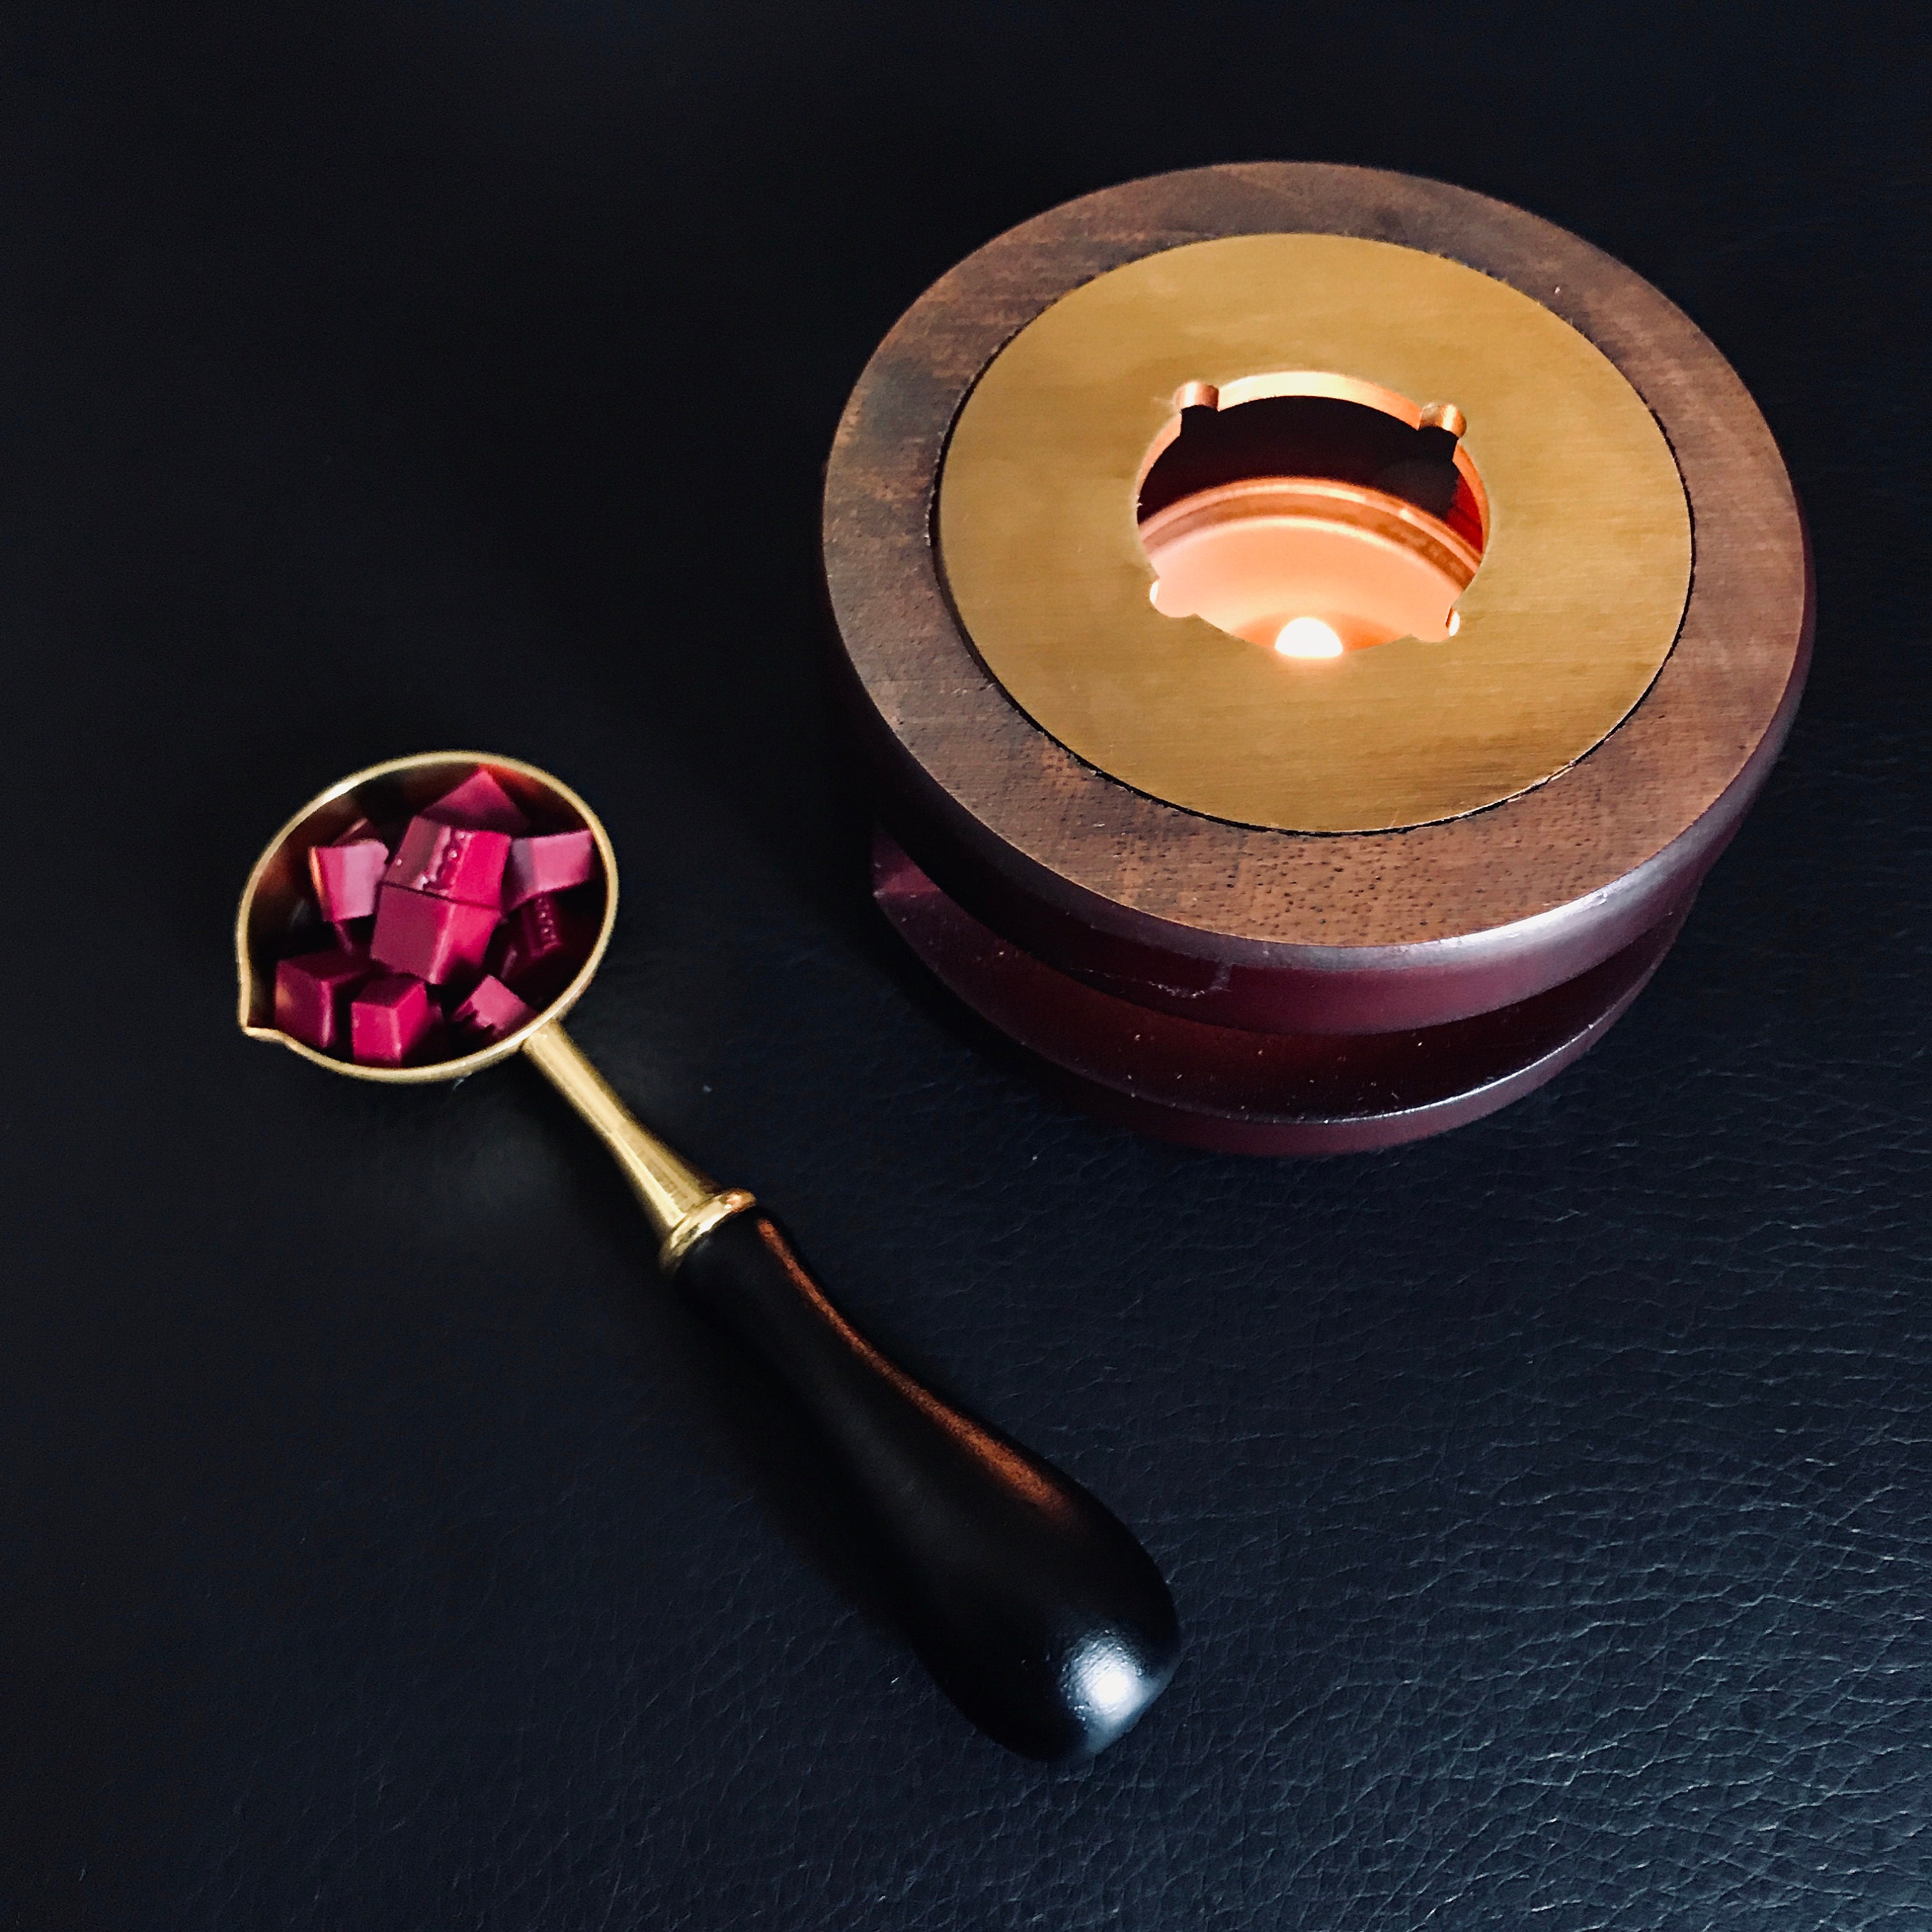
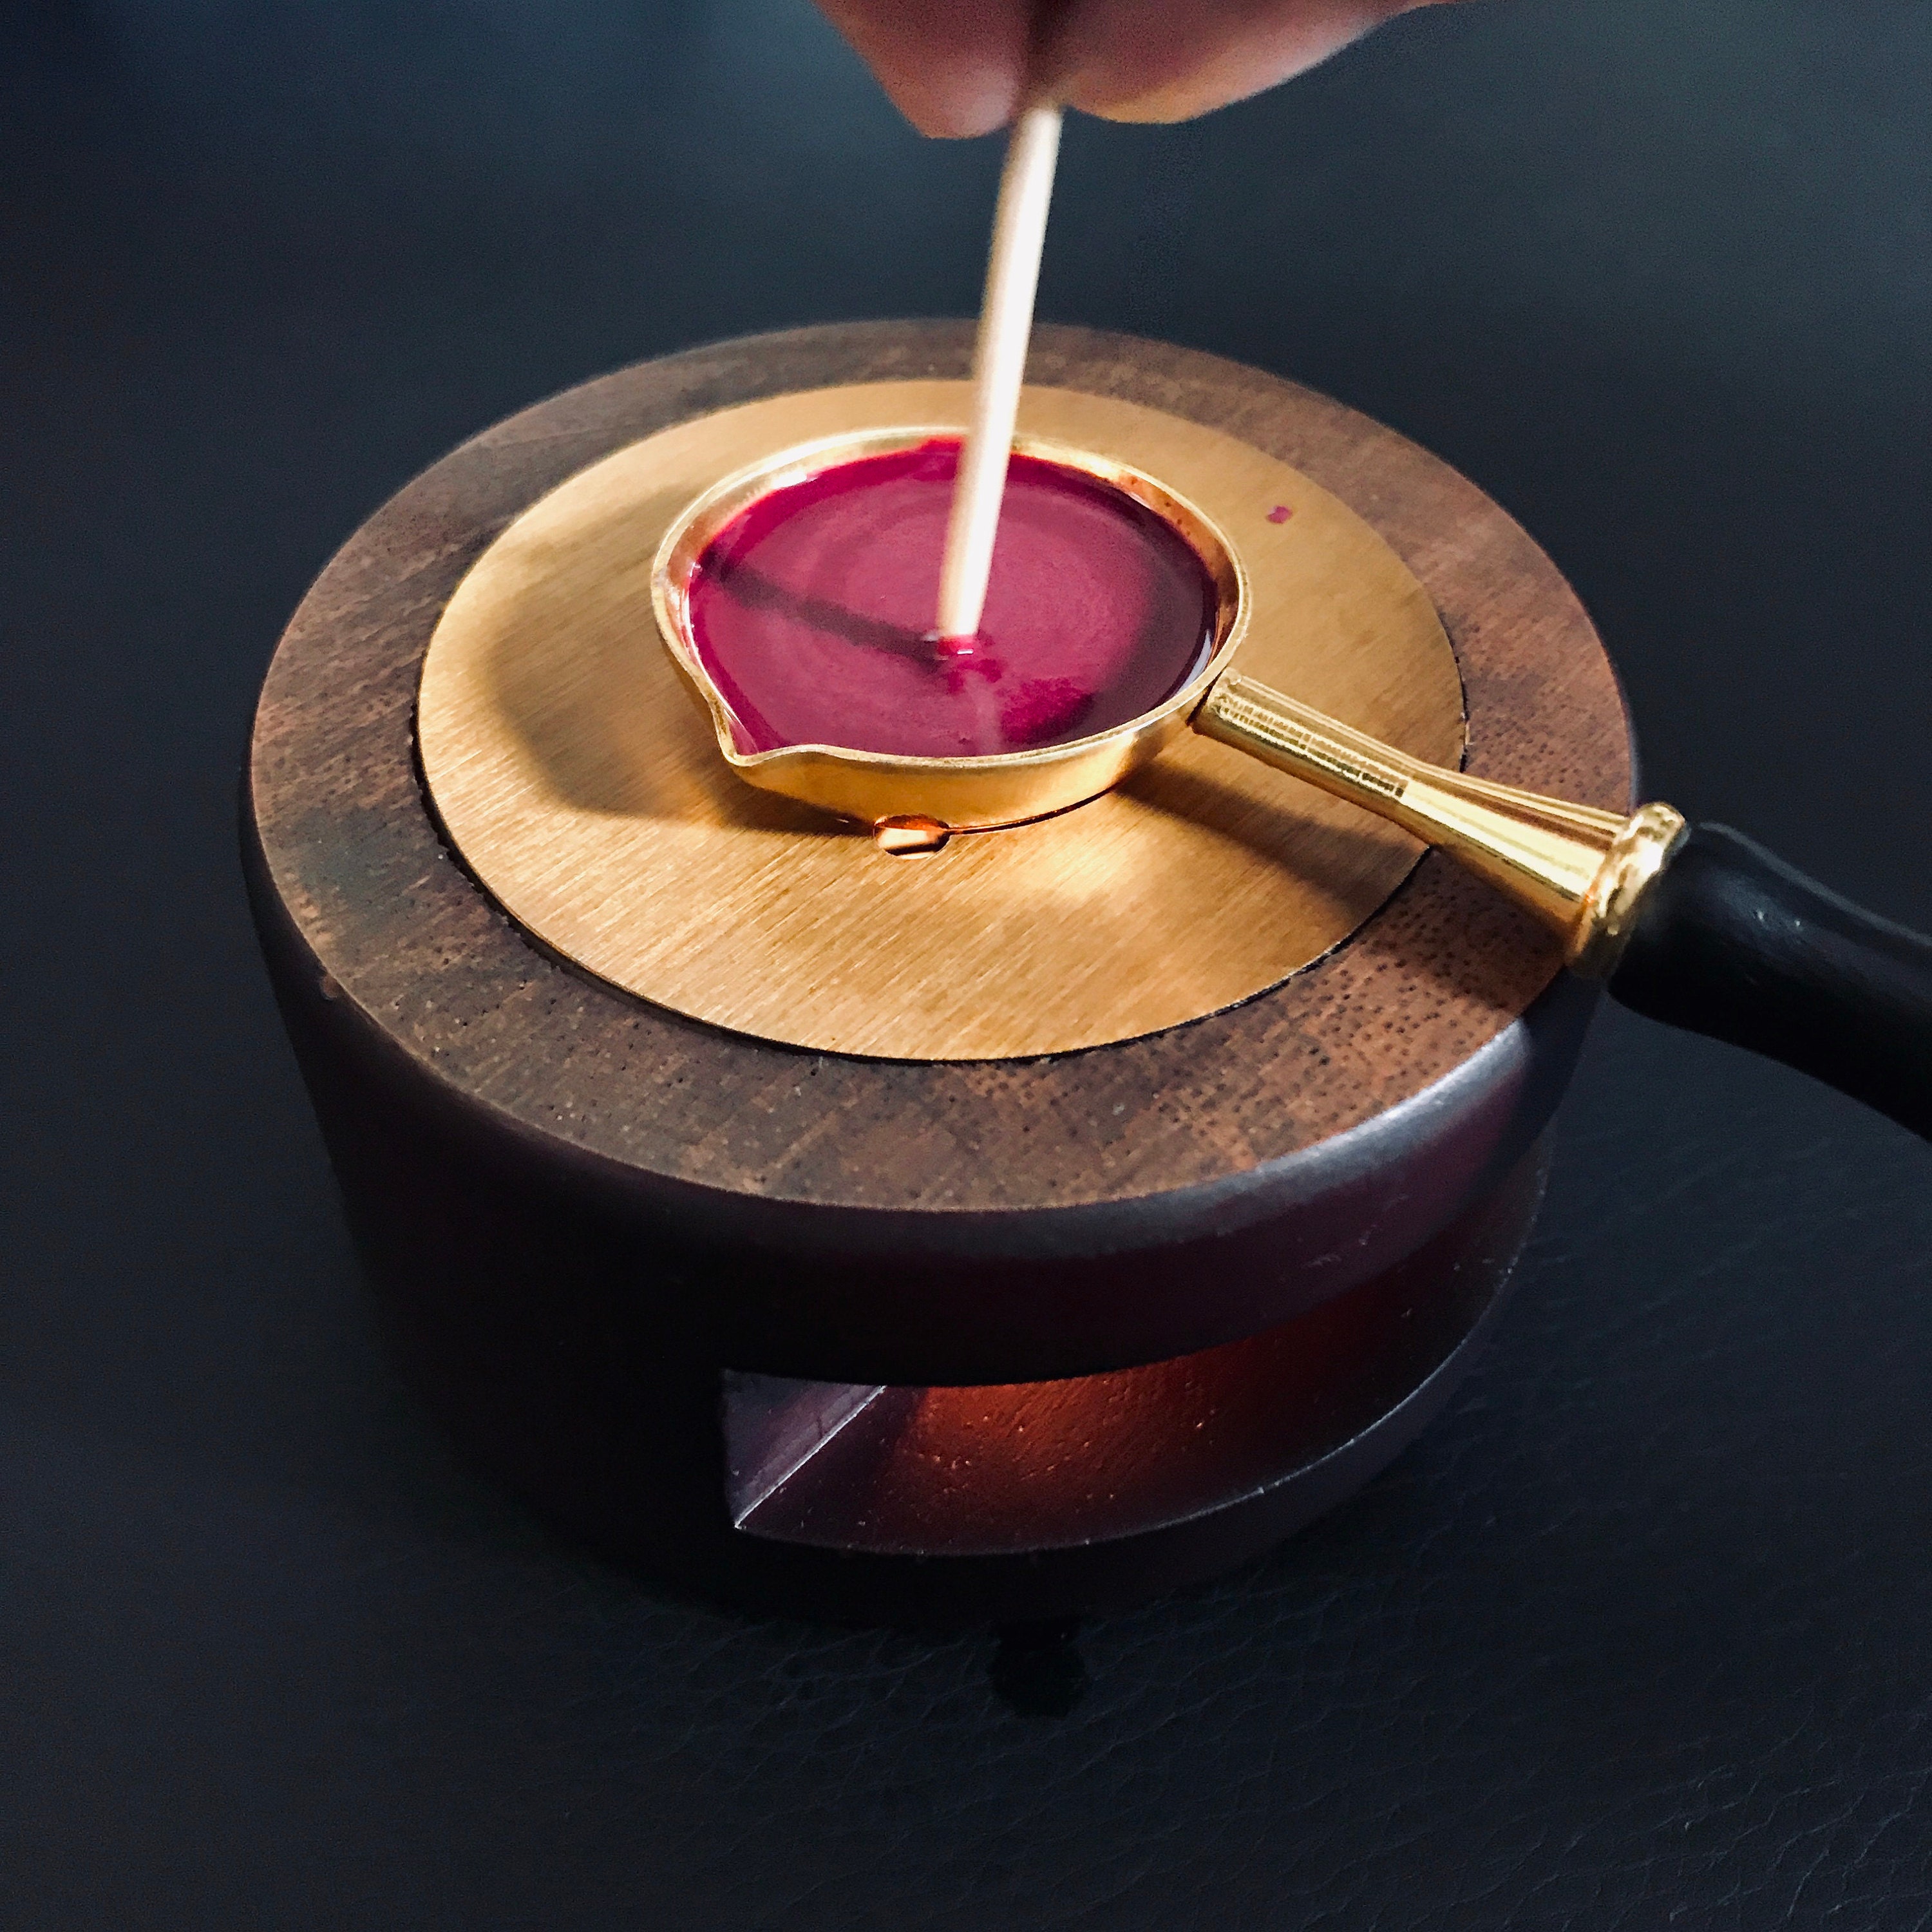
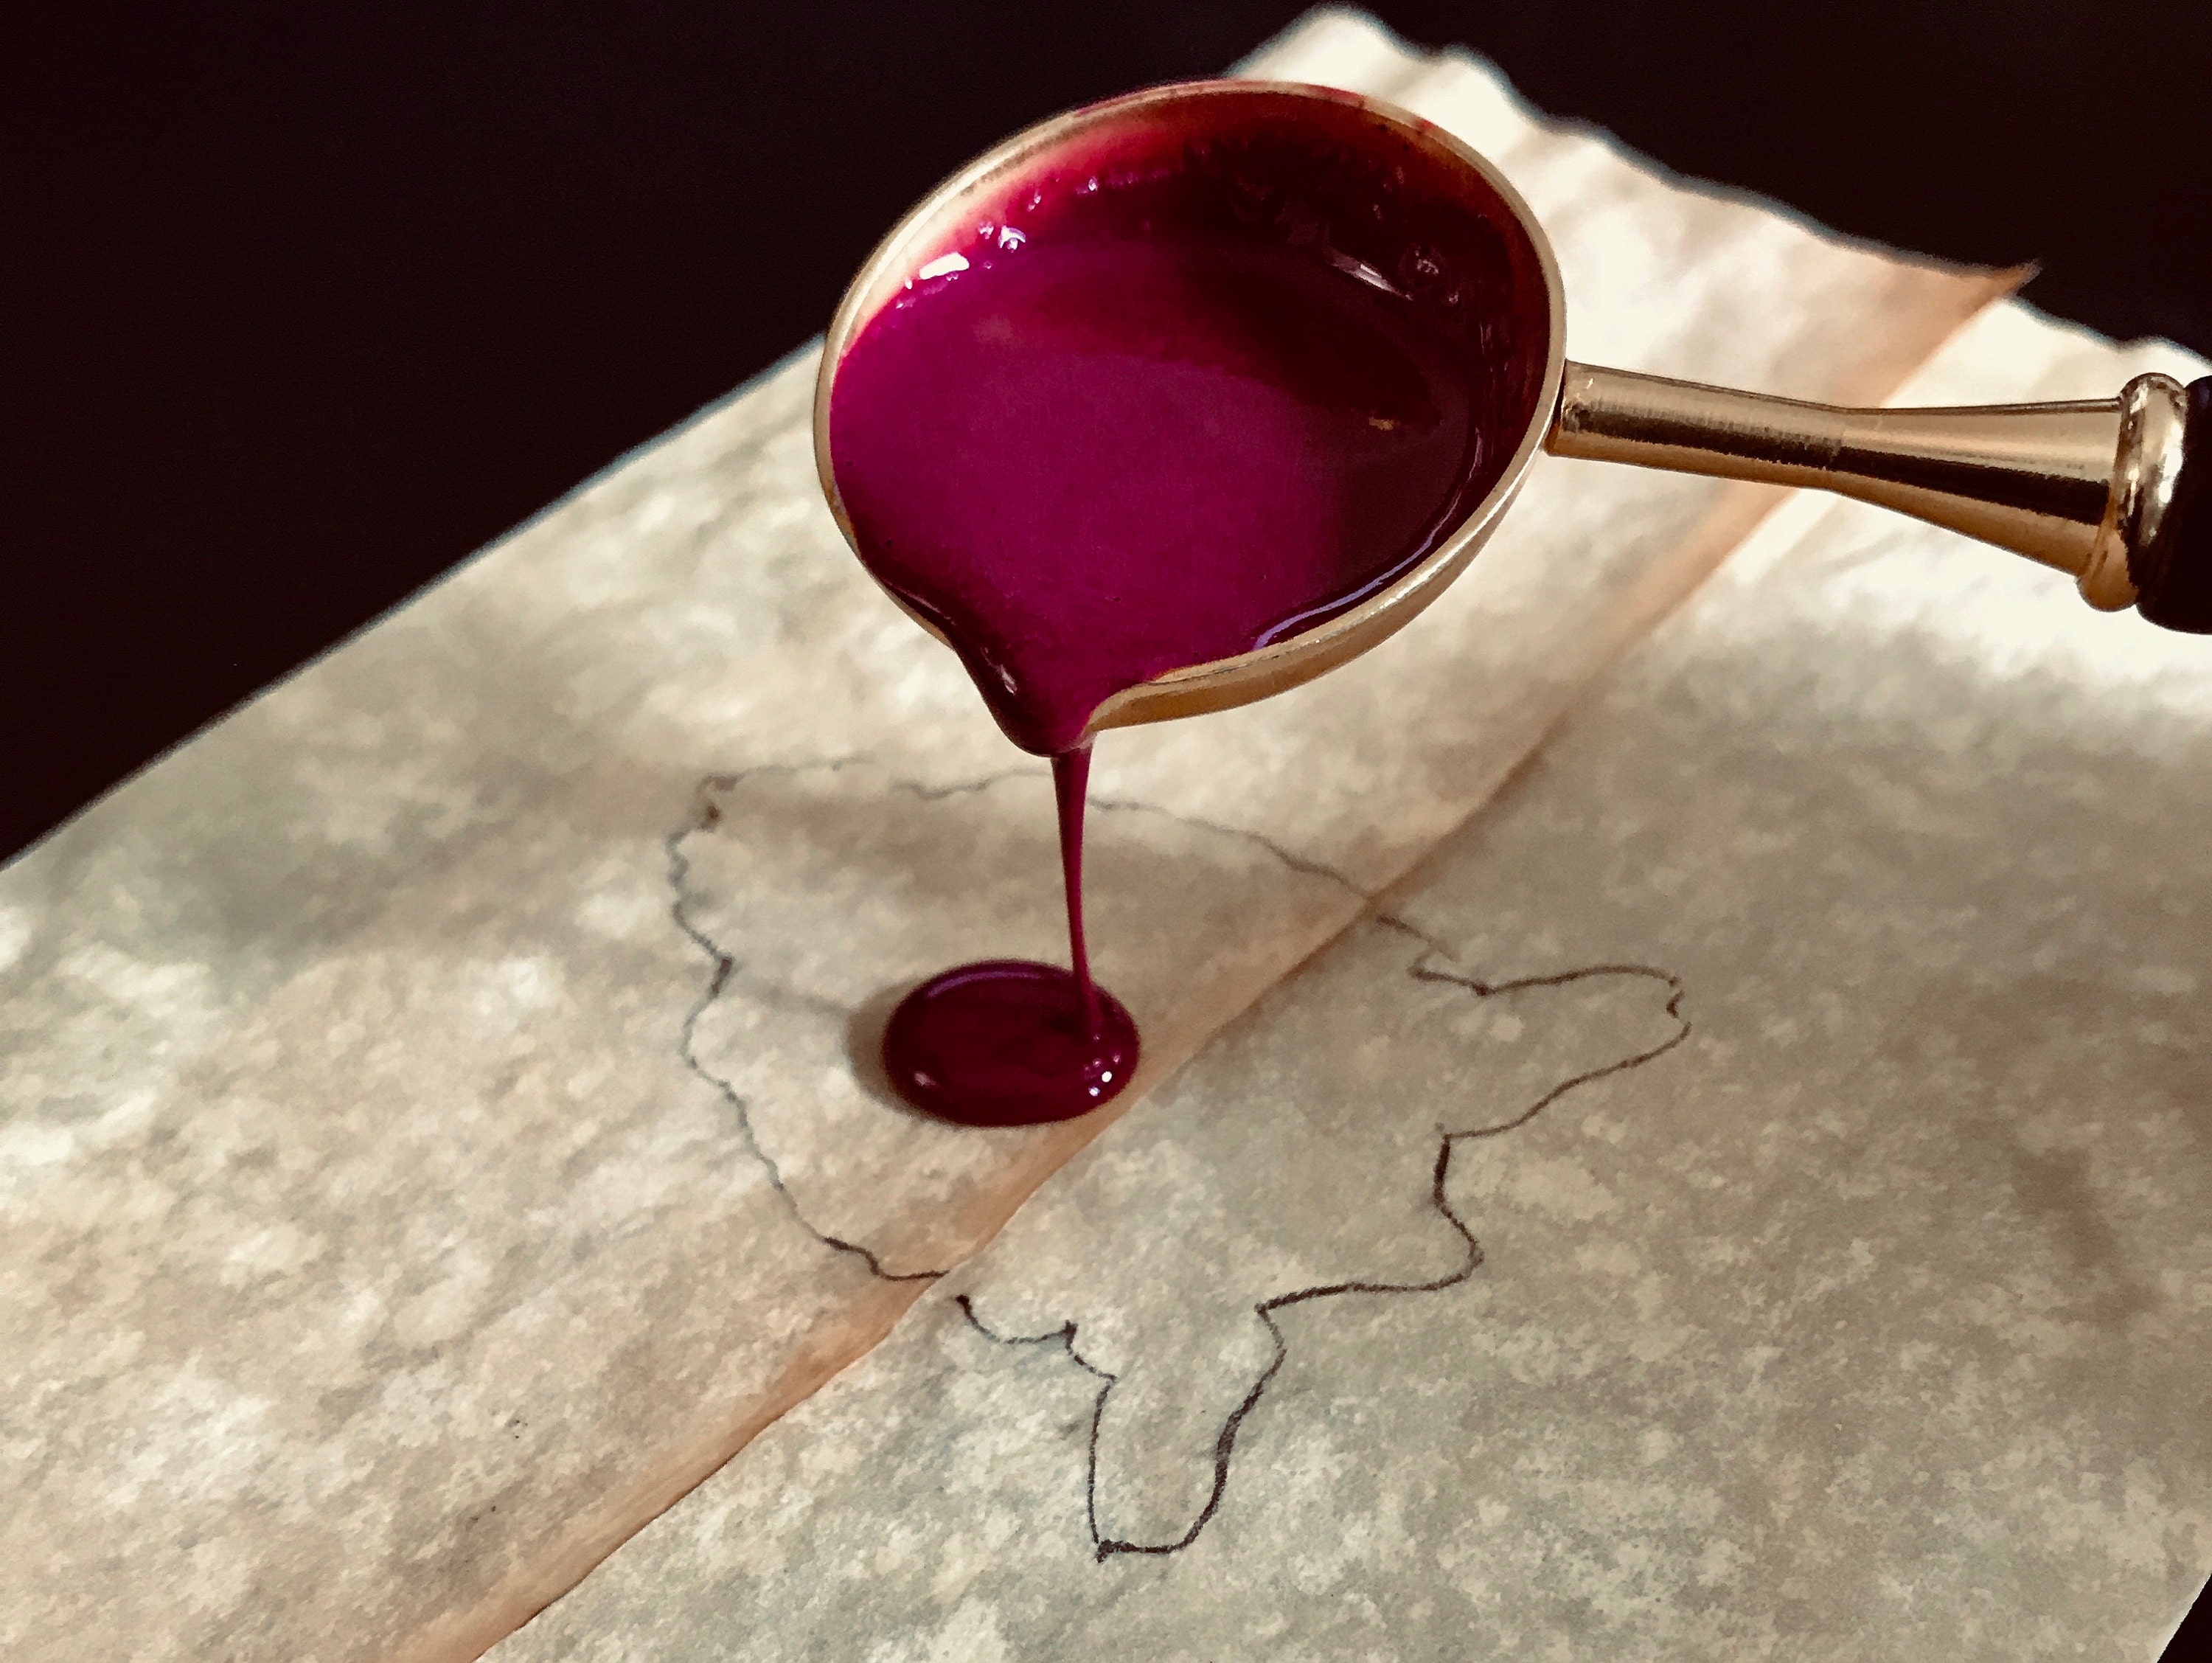
Make a puddle of wax approximately the size of your seal. If you’re using wicked wax, light the wick the same way you would light a candle and hold the stick with the lit end slightly angled towards the paper; if you’re using wickless wax, either hold a match or candle under it or use a melting furnace [as seen in demonstration photos]. Slowly rotate the stick to ensure that the wax melts and drips onto the paper evenly. When your puddle is big enough, blow the wick out. If you’re using a melting spoon and furnace, use a toothpick to stir up the ‘spooned’ wax (this helps to remove air bubbles) and then use the spoon pour the sealing wax in the desired size and shape on the paper. If you have a large stamp design, it helps to first trace the stamp outline with a pencil.
Step 2 –
Gently stir the wax puddle with the non-wicked end of your stick (or either end if wickless). This removes air bubbles, gives the wax a uniform thickness, and helps make soot less noticeable. Spread the puddle into the shape and size of your seal.
Step 3 –
About ten seconds after dripping or pouring your wax, it will have just begun to harden on the paper. Press your seal firmly into the wax and either let it sit or hold it there with your hand for 5-10 seconds, then gently remove it up and away. If it is difficult to remove your stamp, let it set for a while longer – there is no rush to pull your stamp out of the wax.
Types of Sealing Wax:
Supple vs. Traditional –
If you plan to send your wax sealed envelopes in the mail, use supple sealing wax, as these blends allow for a much higher degree of flexibility and bendability than does traditional wax, thus increasing the chance of your seal arriving unbroken. Traditional sealing wax, on the other hand, is the best wax for hand-delivered letters and certifying official documents, as it is much denser than supple wax and thus makes a clearer, longer-lasting impression of fine stamp details. Traditional sealing wax is also blended to ensure that your seal ‘breaks’ if it is tampered with or if the letter is opened, which provides an extra degree of security.
Wick vs. No Wick –
Sealing wax generally comes in stick form or in the form of pre-cut cubes/pieces that can easily be melted on a spoon. They also either come with a wick (like a candle) or wickless.
Wicked wax is popular because it is the quickest form to use, but there is more than one downside to using wicked wax sticks. Chiefly, wicked wax leaves evidence of its use on the final seal in the form of marbled black soot spots that become mixed in with the color of your wax. Using wicked wax sticks also leaves one to the mercy of the speed at which the melting wax drips down and pools onto the paper, and with the possibility of already-dripped wax hardening on the paper before enough wax to stamp your seal has even fallen. That’s way too little control for me and far too much room for error.
Wickless wax, on the other hand, may add more steps to the overall process, but it offers more benefits than its wicked counterpart. With no wick, you either have to hold your heat source under the wax stick while it melts or you have to load the wax into a melting spoon and then place it on a melting furnace (a glorified tea candle holder with a place to set down a wax-filled spoon). However, wickless wax is considerably less likely to muddy the color by leaving soot in it, and it’s more traditional and historically relevant than wicked sticks. Using a melting furnace also frees-up your hands and allows you to finalize the document or envelope before the finalizing stamp is applied to it. The edge of a wickless wax stick can also be used to ‘rub’ and spread melted wax around in the desired shape on the paper or stamping surface.
Personally, I like to use a wickless sealing wax that I can then cut down into small cubes and use in my wax melting furnace, or simply melt in its stick form with a long match or barbecue lighter.
Tips and Tricks:
- Remember to make sure that your seal is right side up before you stamp your design! I mark the bottom of my brass stamps with a Sharpie so that I can quickly identify whether or not I’m about to stamp an upside-down seal.
- If you’re using a larger sized seal design (like the one I used for this demonstration) it can be difficult to gauge how large to make your wax puddle. This can be remedied by using a pencil to trace around your seal on the paper in order to give yourself a target.
- If your puddle of wax starts to harden while you are still in the process of melting more, you can rub the end of a wickless wax stick around in it to churn up the fresh, hot wax and mix it with the cooler wax. You can also force your puddle into specific shapes or into larger areas by doing this.
- If residual wax gets stuck into the design of your brass seal, you can remove it easily by using acetone (commonly used as nail polish remover). Only use acetone on brass or other metal seal dies, as it can damage acrylic or other low-density material seals.